Install
1. Install Visual Studio Code
 VS Code is (free)!
It will allow you to
write programs in files,
make commands via a console/terminal, and
add extensions to improve efficiency and accuracy.
Your platform will be detected automatically and show in the blue Download button. Use the down arrow ↓ to view the list of options, and click the Stable download icon to launch the installation for your platform.
Once installation is complete, add the VS Code application icon to your Mac Dock or Windows Taskbar.
2. Choose a Theme and Font Size
The VS Code app comes with a default dark theme, which may or may not be easy on your eyes. If you prefer other levels of contrast and color combinations, try out the built-in themes and/or install and enable others via the Extensions icon. Screenshots in this tutorial are using the Gruvbox Concoctis Light Medium theme from wheredoesyourmindgo.
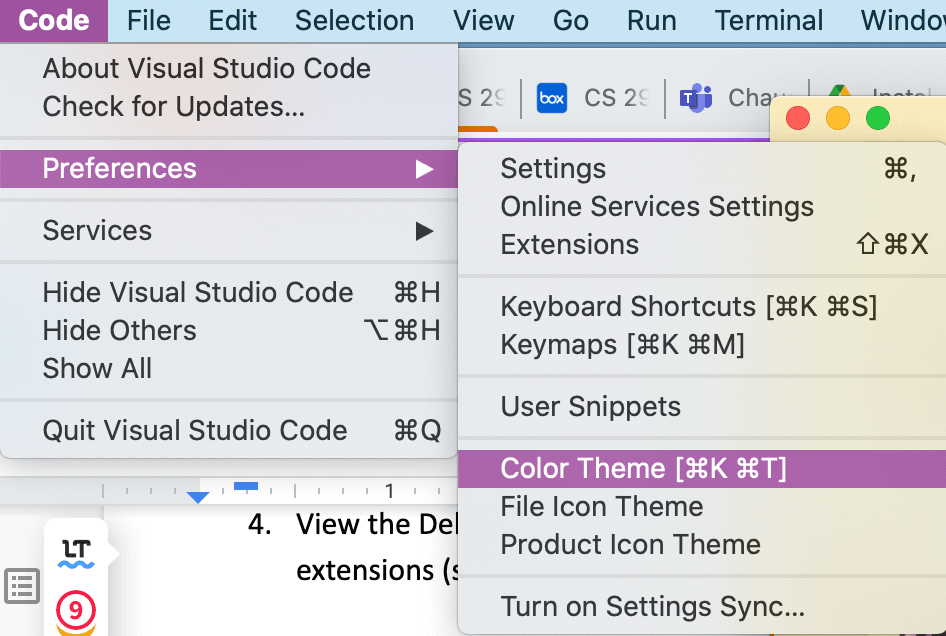
- From the Code > Preferences > Color Theme menu, select from the Dark, Light, and High-Contrast themes listed. Leave on the theme that reduces eye fatigue for your eyesight.
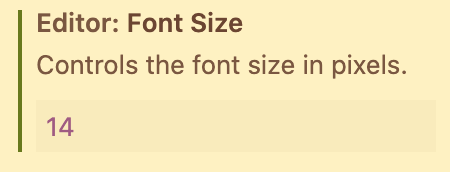
- From the Code > Settings menu,
search for font size and change it to 14 (or a size that suits your eyes best).
- From the Code > Settings menu, search for auto save and set the afterDelay feature to 1000 (or whatever timing you prefer).
- Come back to this area later to update text-editing conventions that you prefer, such syntax highlighting, folding, hover/hints, tab size, word-wrap, disable minimap, etc.
- Learn more:
VS Code shortcuts and tricks that I wish I knew sooner.
Covers HTML boilerplate,
HTML abbreviations,
Source Control tab,
useful extensions,
relative file path,
GitLens,
Prettier,
tips in the comments.
- To add the default HTML boilerplate tags to any HTML page, type this keystroke into the .html pa: ⌘i (Mac) or cntli (Win) then check the HTML box in the popup list....and voila!
3. Add Extensions
![]() Click the Extensions icon on the left menu bar and add these optional extensions:
Click the Extensions icon on the left menu bar and add these optional extensions:
- HTML Format
- HTML Preview
- REST Client
- CSS Peek
- MongoDB for VS Code
- A theme that improves readability (optional)
Create a Workspace
Correlate folders and files between your hard drive and VS Code. You can create folders and files for a project (called a Workspace) in a variety of ways:
A. From the Mac Finder or Windows Explorer on your hard drive:
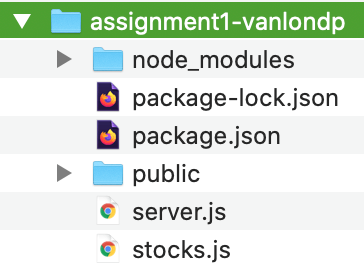
- From your hard drive's Documents → Finder/File Explorer window, right-click to add a folder. This will become a Workspace folder.
- Drag the new folder to the VS Code icon to open the Workspace folder.
- Use the +file icon to add files to the Workspace folder.
- Click the file to edit and save.
B. From inside VS Code's File Explorer pane:
- Code → New Window → Open Folder.
- Navigate to the Documents folder on your hard drive and create a course folder → module folder.
- Use the +file icon to add files to the Workspace folder.
- Click the file from the File Explorer pane to edit and save.
C. From inside VS Code's Terminal:

- Terminal → New Terminal.
- Type
mkdir foldername. - Type
cd foldernameto change to that new directory/folder. - Type
touch filename.htmlortype filename.htmlorecho filename.htmlto create a file. - Click the Open Folder button in the File Explorer pane in VS Code to open the file in that new folder to edit and save.
Terminal Command Line
Your computer is installed with an application that allows you to type commands to tell it what to do, such as navigate through folders and files, Create, Read, Update, and Delete folders and file (CRUD), and change the permissions of folders and files to increase or decrease security. It can also be used to install libraries/dependencies, run your apps/sites, view console log output, debug problems, and run multiple terminals at once.
However, for this course, we recommend you use VS Code Terminal to give your assignments the required commands.
Terminal windows in VS Code can be accessed in these ways:
- From the Terminal menu → New Terminal.
- With the Controlshift~ keystroke.
- By dragging up from the bottom of a file editing window.
- From the File Explorer, right-click on a file/folder and choose Open in Integrated Terminal.
Close the running terminals at the end of each working session using Cntrlc, so they don't interfere with the next day's work.

Learn more about terminal commands:
- VS Code's Command Line Interface (CLI)
- Core commands, file navigation, extensions, advanced, etc.
- 17 Terminal commands every user should know
- Create, change, list, and remove directories; make, open, copy, move, and delete files; change permissions, etc.
Debugging
The Terminal's Problems tab provides the number of coding issues in the tab and lists them below. Click it to view their line numbers.
The Terminal's Debug Console tab automatically provides support for all the course's languages. To use it:
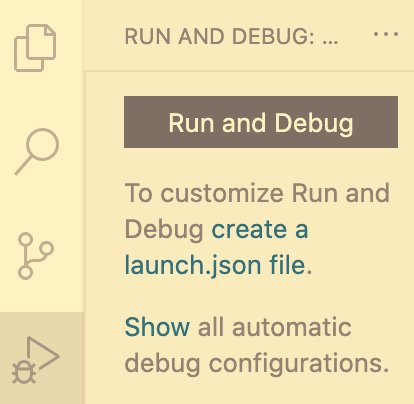
- Click the Run Debug icon on the left menu.
- Click the Run and Debug button.
- Choose the language from the dropdown list.
- View the Debug Console in the Terminal. If the debug messages are too vague, consider adding related extensions or methods.
Resources
- How To Debug Node.js Code in Visual Studio Code
- VS Code Node.js Debugging
- VS Code Intro Video: Debugging
Ask for recommendations about additional debugging Extensions via Ed Discussion.
Keytrokess / Shortcuts
Improve your programming speed by using keytrokes (keyboard shortcuts). Using them also reduces stress on your dominant hand.
Right-click to save the correct PDF file to your hard drive for easy access:
Share your Code in Zoom Help Sessions
When sharing your Code during Zoom office hours, set up your screen so the Instructor or TA can quickly assess your output and code:
- Place the browser window (localhost) on the left ⅓ of the screen.
- Place the VSCode window showing your code on the right ⅔ of the screen.
- From the Code > Settings menu, search for font size and change it to 14, or use ⌘+ (Mac) or Ctrl+ (Win) to increase the font size from the keyboard.
